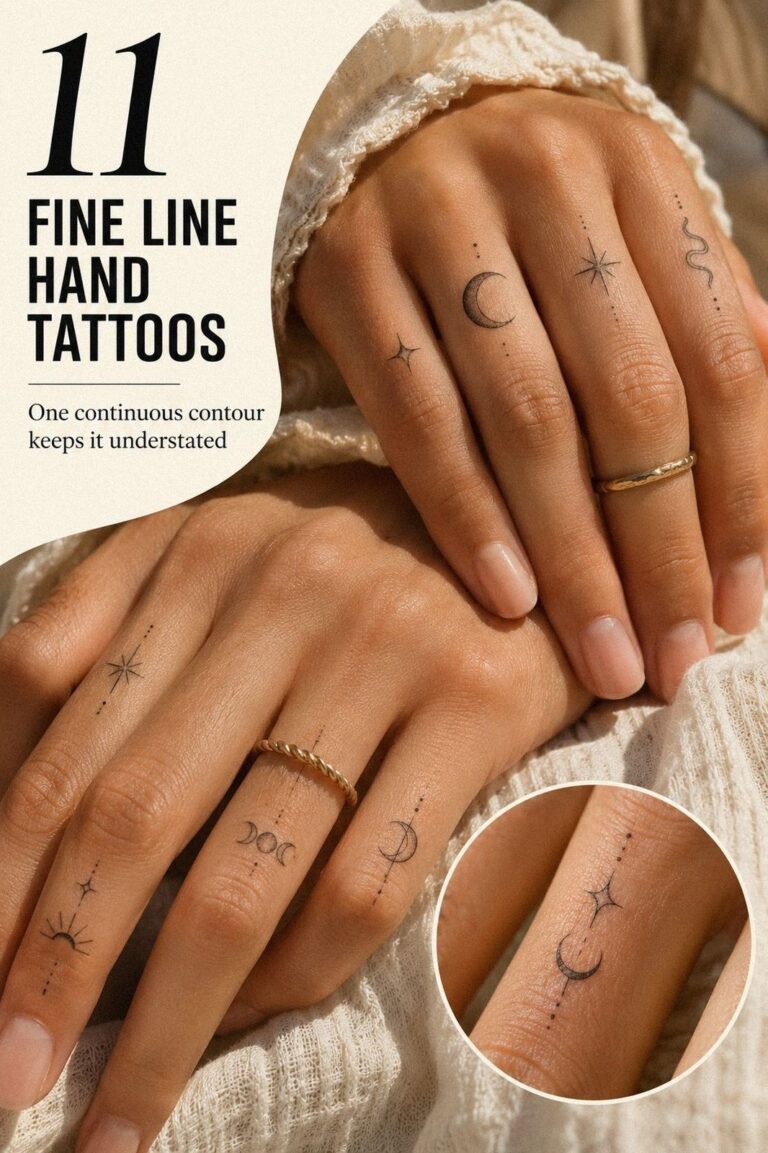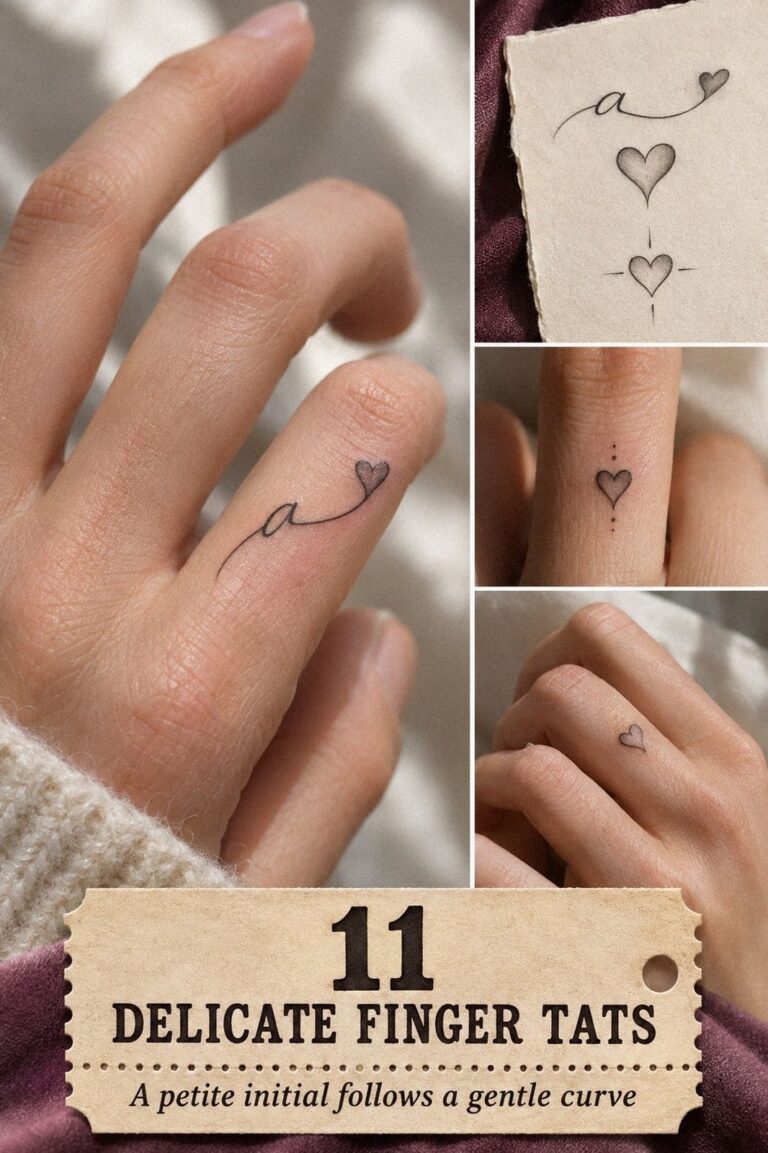
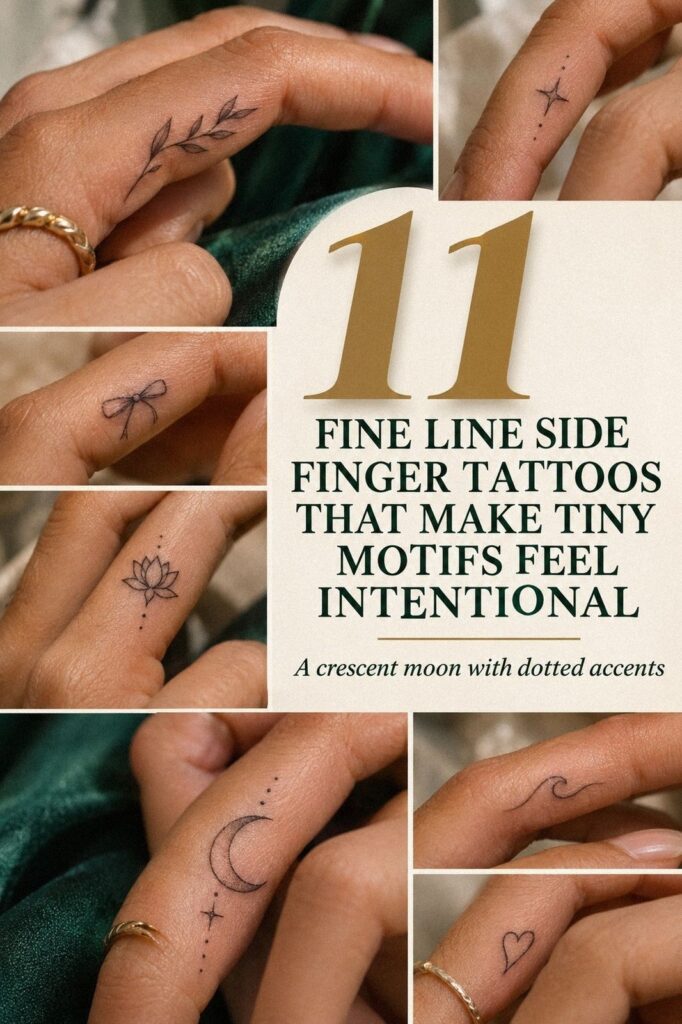
Fine line side finger tattoos can stay readable for years when you choose the right scale, placement, and aftercare from the start. I learned that tiny detail needs breathing room, especially on skin that bends, washes, and sees sunlight every day. This guide walks you through the decisions in order. Start small!
- Start With Small Fine Line Side Finger Tattoos
- Pick A Symbolic Side Finger Design
- Place Delicate Linework Along The Finger
- Keep Tiny Details Crisp And Legible
- Plan Around Natural Finger Creases
- Choose A Meaningful Minimal Finger Motif
- Match Ink Scale To Finger Shape
- Explore Unique Fine Line Side Finger Ideas
- Consider Pain Before Side Finger Tattooing
- Protect Fresh Finger Linework During Healing
- Refresh Faded Side Finger Ink Carefully
1Start With Small Fine Line Side Finger Tattoos
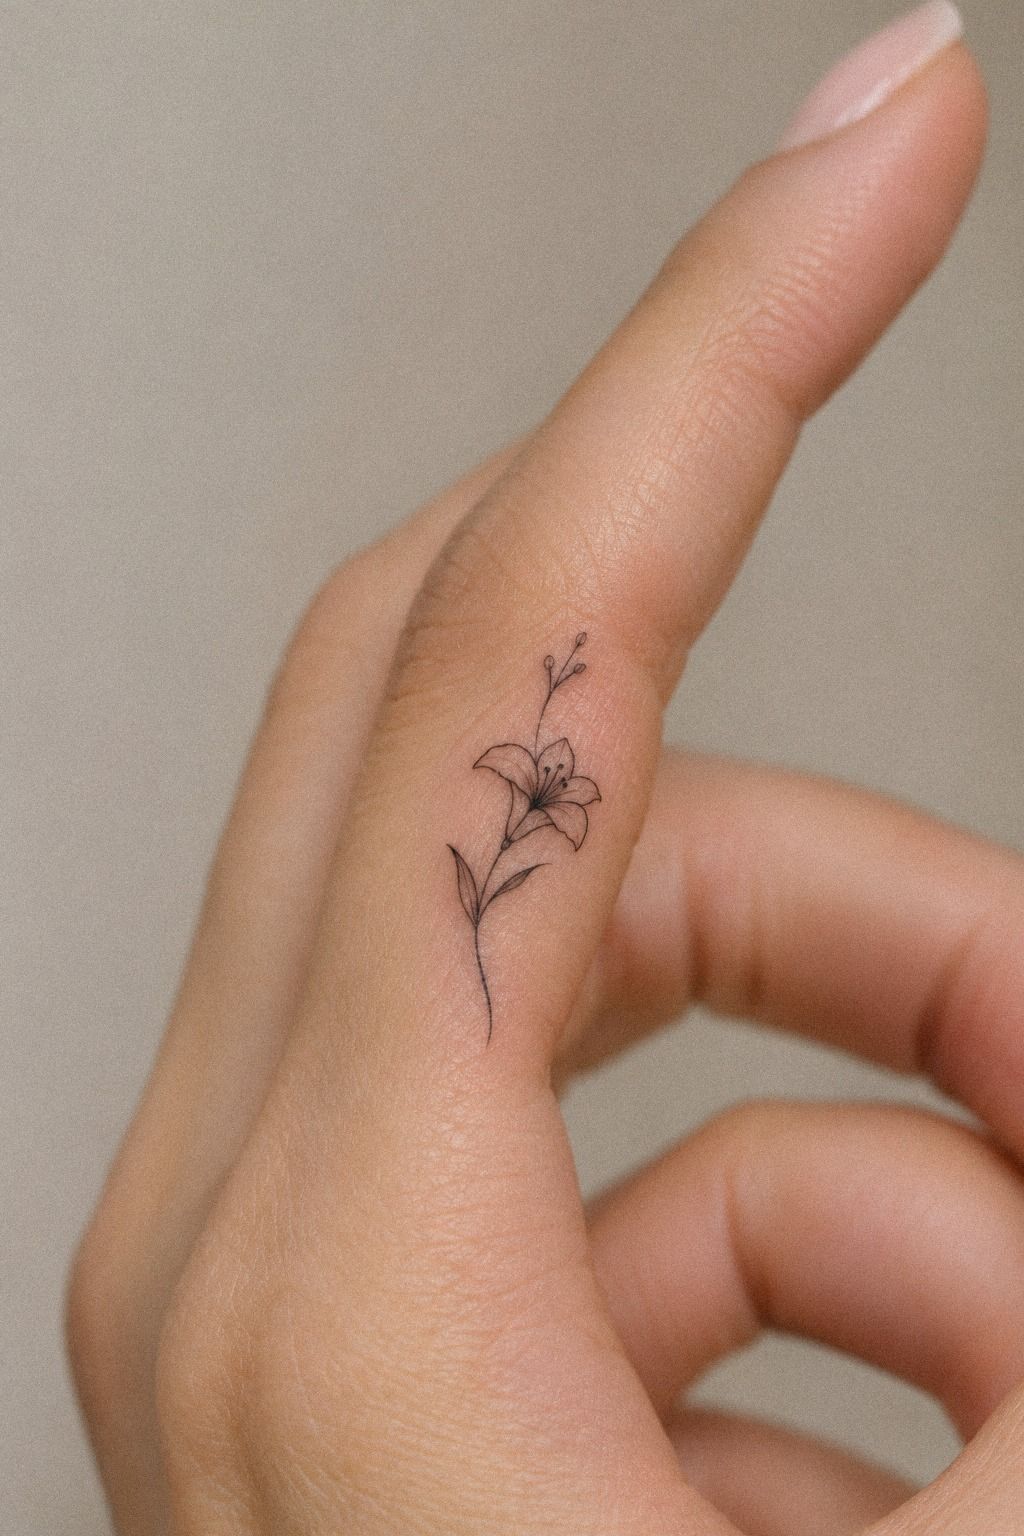
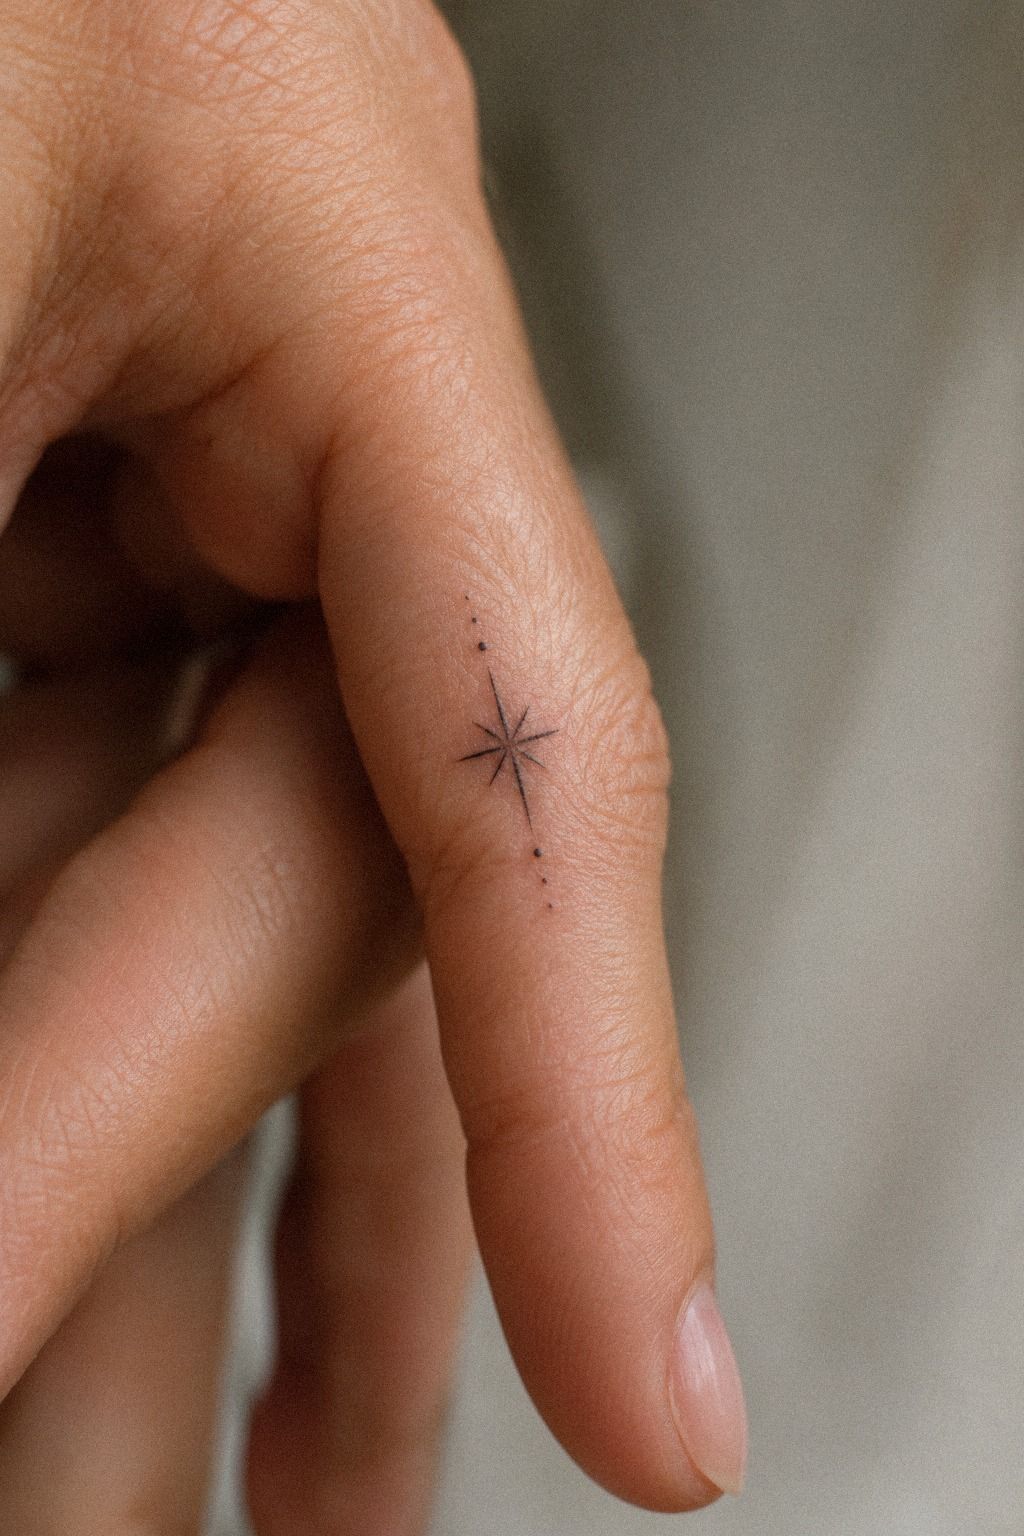
Begin with a motif that has one clear silhouette, such as a few black star marks placed along the side of the finger. Vary the star sizes slightly, then leave visible skin between them. That spacing keeps the design crisp instead of turning into one dark fleck after repeated hand washing.
I call it the Tiny-Star Rule: three small shapes often read better than seven crowded ones. You’ll want the largest star shape to anchor the group, with two smaller marks tapering toward the side of the finger. I’d skip a dense cluster because the narrow placement won’t give every point enough room.
A tattoo artist can test the size with a stencil before you commit. Ask to see the design at its real scale, not enlarged on a phone. Stencil paper gives you a practical preview, and you’ll notice whether the stars still look expressive when your hand rests naturally.
The side of a finger is visible, but it’s also exposed to friction from pockets, tools, rings, and daily movement. Choose a spot that doesn’t fold directly into a crease. If you’re collecting small pieces, compare this placement with these small side finger tattoo ideas before your appointment.
And don’t mistake tiny for effortless. A small, dainty star grouping needs deliberate line weight, clean spacing, and a confident hand. It’s minimal, but it can still feel striking when the negative space is doing its job!
2Pick A Symbolic Side Finger Design
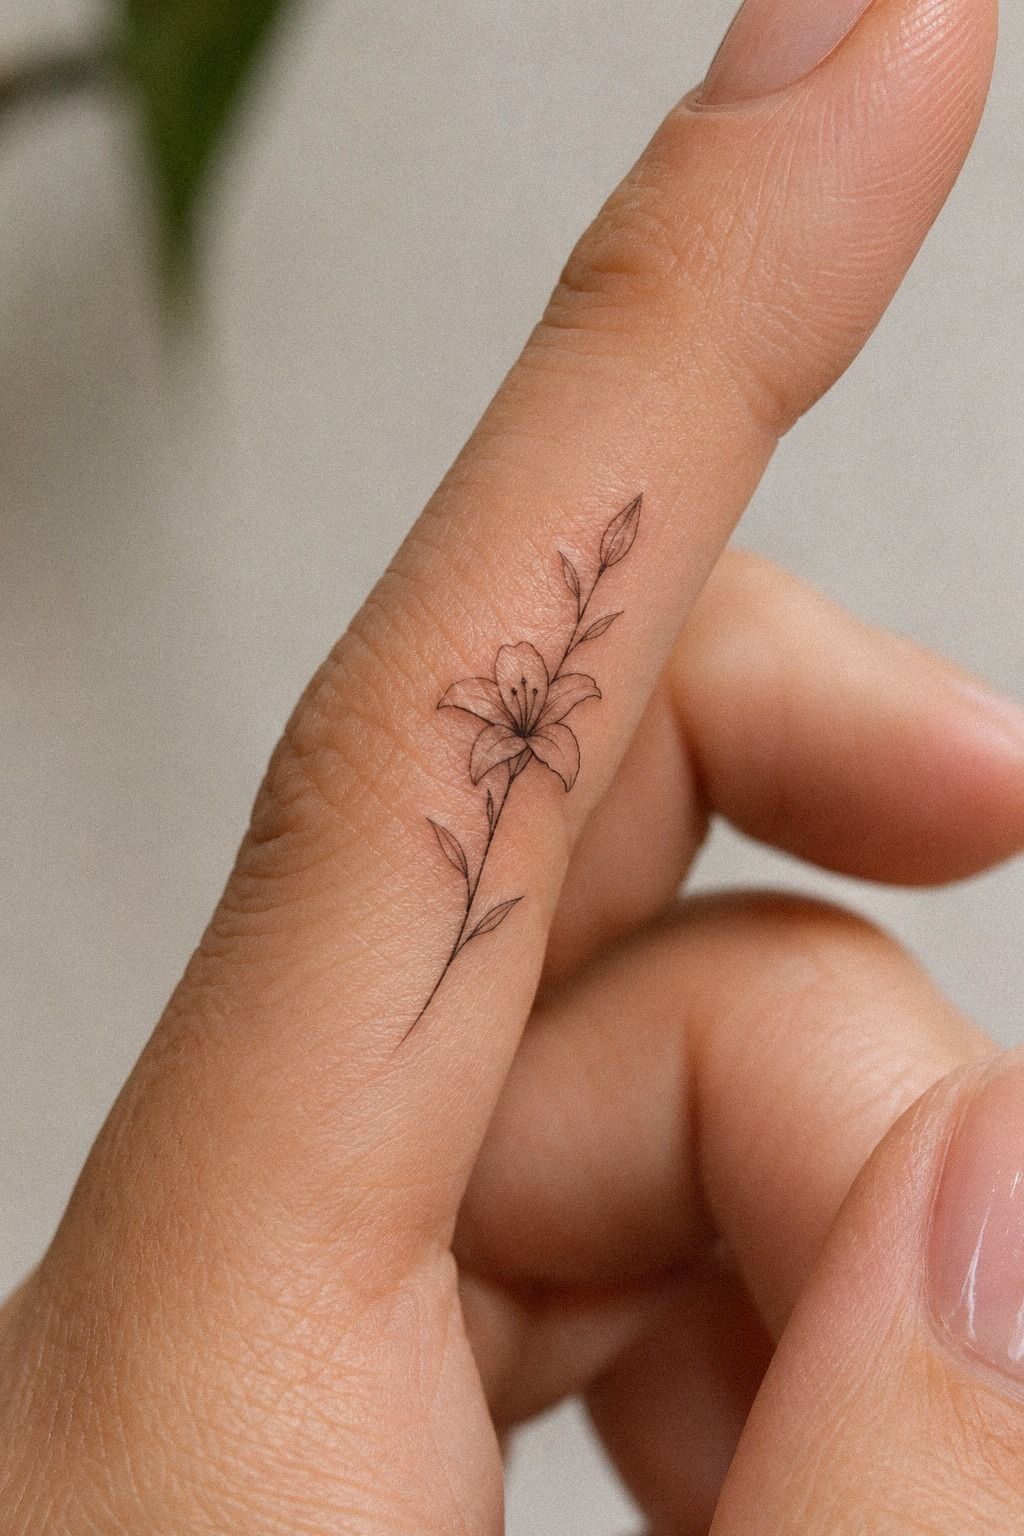
Choose a symbol that still means something when reduced to a few hair-thin lines. A side design works best when it carries an intimate, personal feeling, so think of a crescent, initials, a small botanical mark, or a symbol tied to one memory.
I’d write down three possible meanings before choosing the image. You’re looking for the idea that still feels meaningful after the first excitement fades. A fine line crescent can suggest change, while a tiny star can stand for direction, hope, or a person who helped you find your way.
Don’t let symbolism force you into an ornate design. On a finger, a simple shape usually ages more legibly than an intricate emblem with several enclosed sections. If you’re unsure, ask the artist to make two versions, one expressive and one understated, then compare them at actual finger scale.
Your artist’s portfolio should show clean healed work, not only fresh results. You’ll want to see whether circles remain recognizable and whether thin lines have spread beyond their original edges. The what fine line tattoo means guide can help you understand the style before you book.
But don’t choose a symbol only because it’s popular this month. A personal mark will feel more timeless than a copied motif, and you won’t need to explain why it belongs on your hand. That’s the difference between a stylish reference and an empowering tattoo you’ll keep looking at.
3Place Delicate Linework Along The Finger
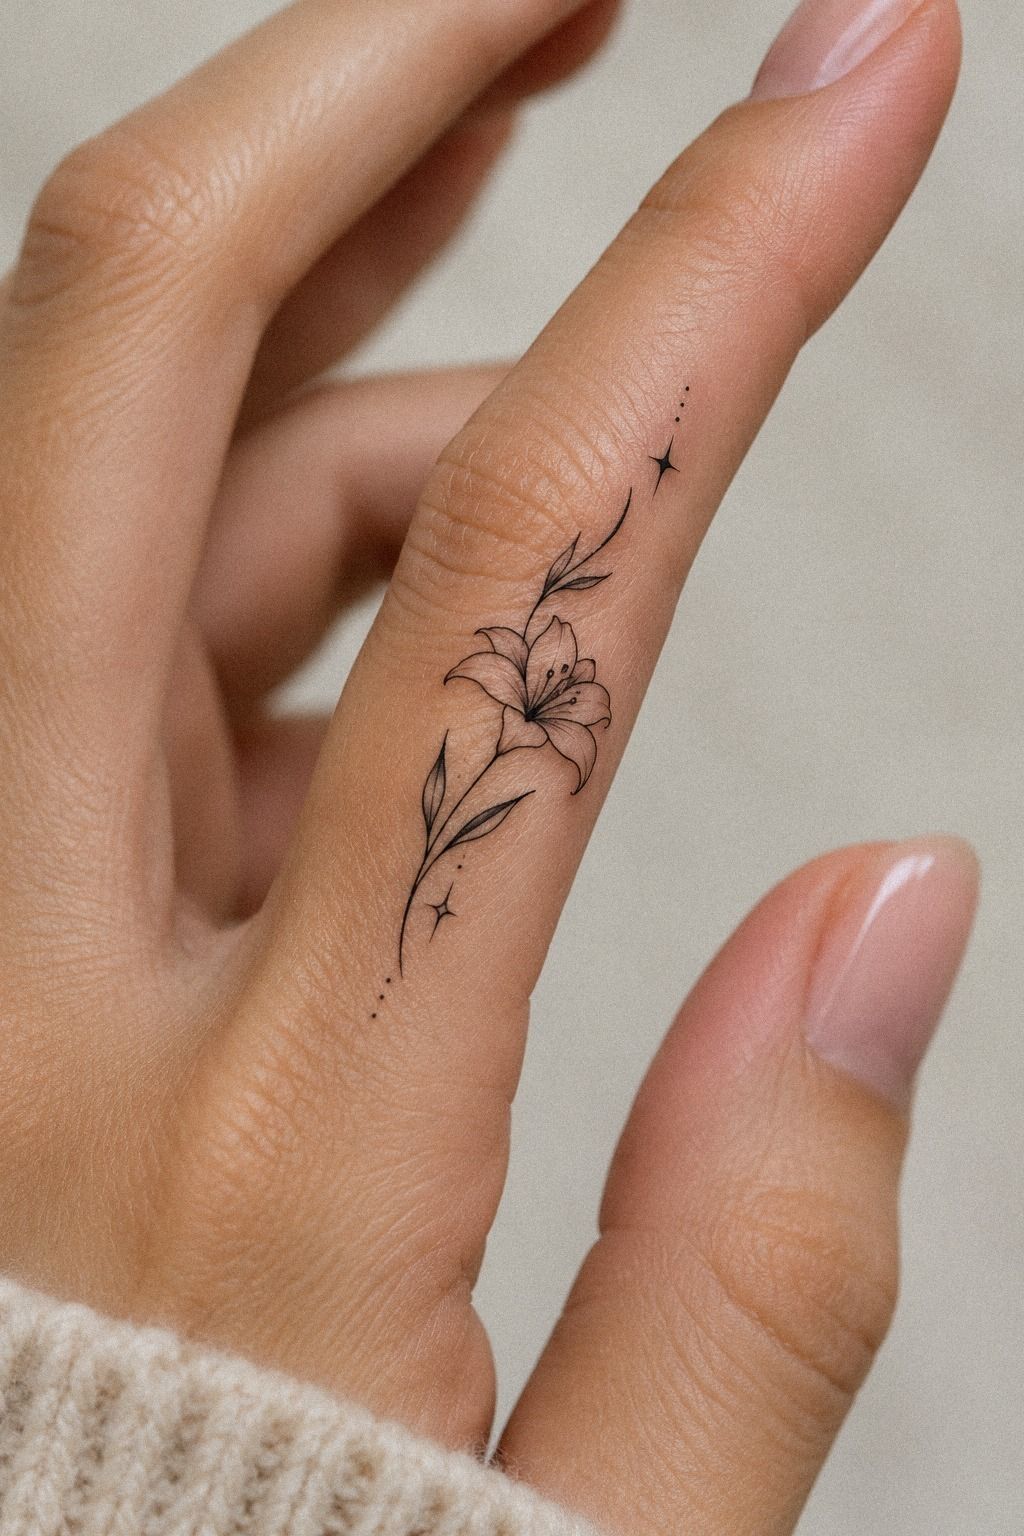
Use the side plane of the finger as a narrow vertical canvas. A flowing design should follow the finger’s length rather than fighting its natural direction. Place the longest line parallel to the finger, then let smaller marks branch away with restraint.
Before the stencil goes down, bend and straighten your finger several times. You’ll see which areas collapse when the joint moves. I’d keep the key feature away from the deepest fold because a striking design can lose its shape when the crease repeatedly compresses the ink.
The artist may use a single-line stencil to check alignment from several angles. Look at your hand palm-up, palm-down, and from the side. If the design only looks balanced when your finger is perfectly straight, it needs another adjustment.
Side finger tattoos also rub against neighboring fingers. Rings can add more friction, especially if the band sits directly beside fresh work. If you wear jewelry daily, show it to your artist and compare the proposed location with these delicate side finger tattoos.
And keep the linework quiet. I prefer one graceful curve with a small interruption over a busy pattern that tries to fill every millimeter. You’re designing for movement, so a flowing mark will usually look more natural than a rigid block.
4Keep Tiny Details Crisp And Legible
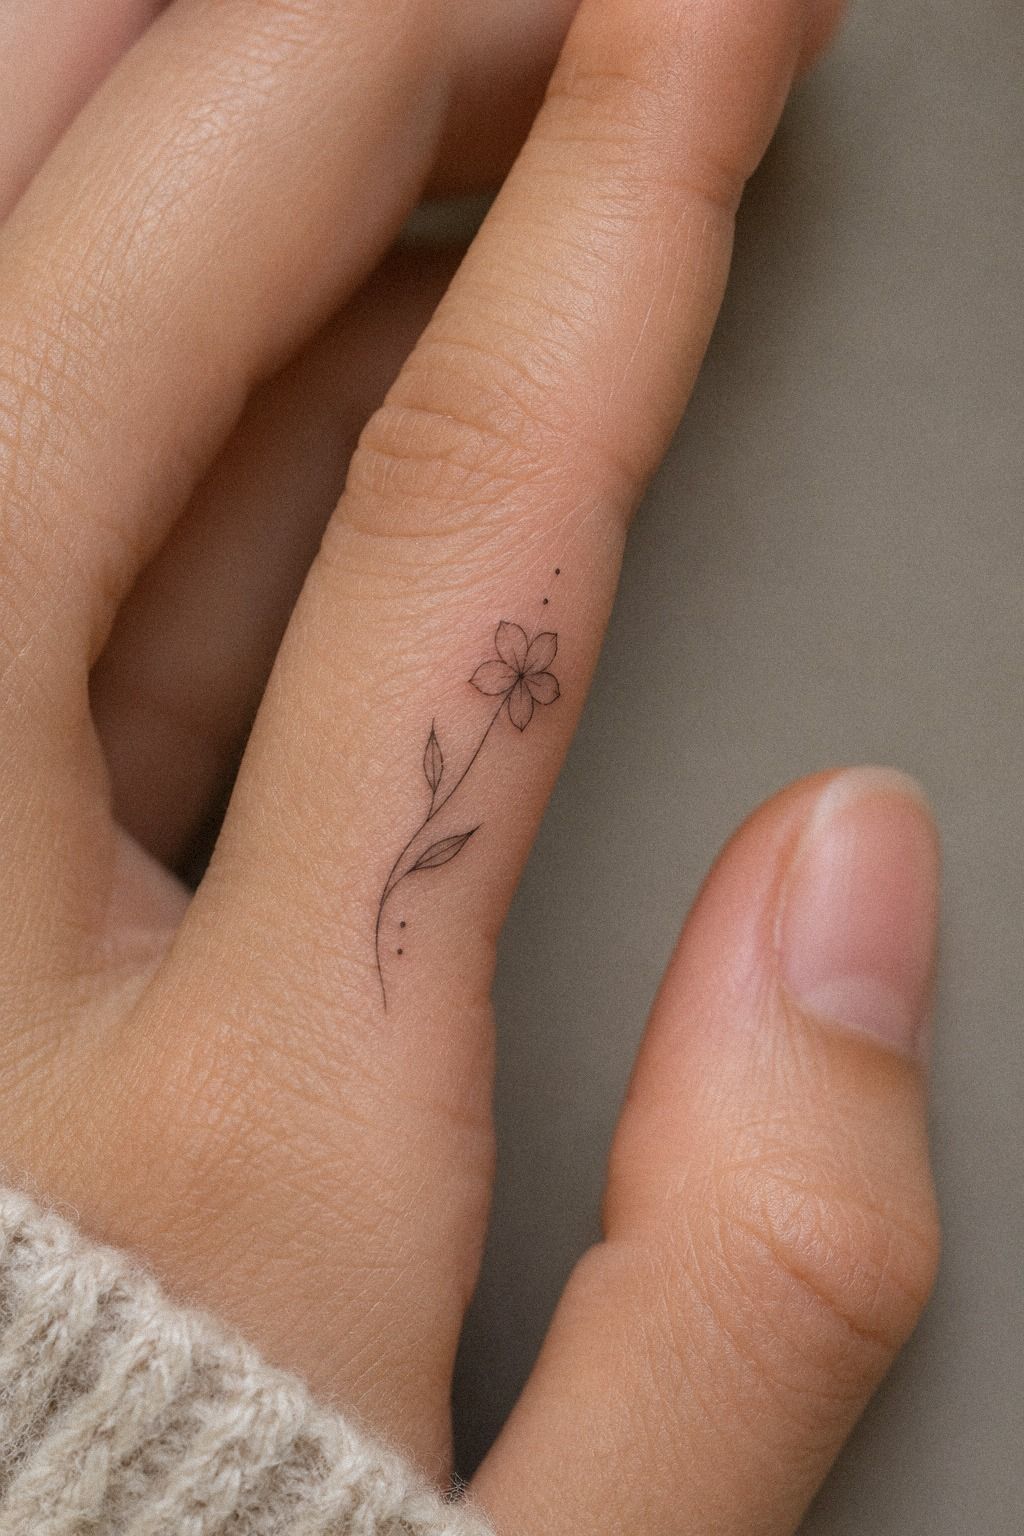
Give every small detail enough room to survive normal skin movement. Negative space is part of the design, not wasted skin.
5Plan Around Natural Finger Creases
Use a flash sheet as your planning board. Compare stars, leaves, moons, and abstract marks before they reach your skin. Circle the designs that still read when viewed from a few feet away.
I call this the Crease Map. Trace where your finger bends, then place a temporary version of each motif over those lines.
You’ll quickly see which designs remain legible and which ones split awkwardly at the joint. The most intricate motif isn’t always the most practical one.
A traditional flash sheet can also reveal the artist’s visual language. Look for repeated line confidence, balanced spacing, and shapes that don’t rely on heavy shading. If every option is crowded with tiny decoration, ask for a simplified redraw instead of accepting the first version.
Your appointment should include time for placement changes. Don’t feel rushed because the stencil is already applied.
Move your hand, make a fist, hold a cup, and check whether the mark feels naturally aligned. You’re the one who’ll see it during those ordinary movements.
But avoid placing the central detail directly across a deep crease just because it looks centered on paper. Skin doesn’t behave like paper. A clean, crisp symbol positioned slightly higher can look more balanced once your finger bends.
6Choose A Meaningful Minimal Finger Motif
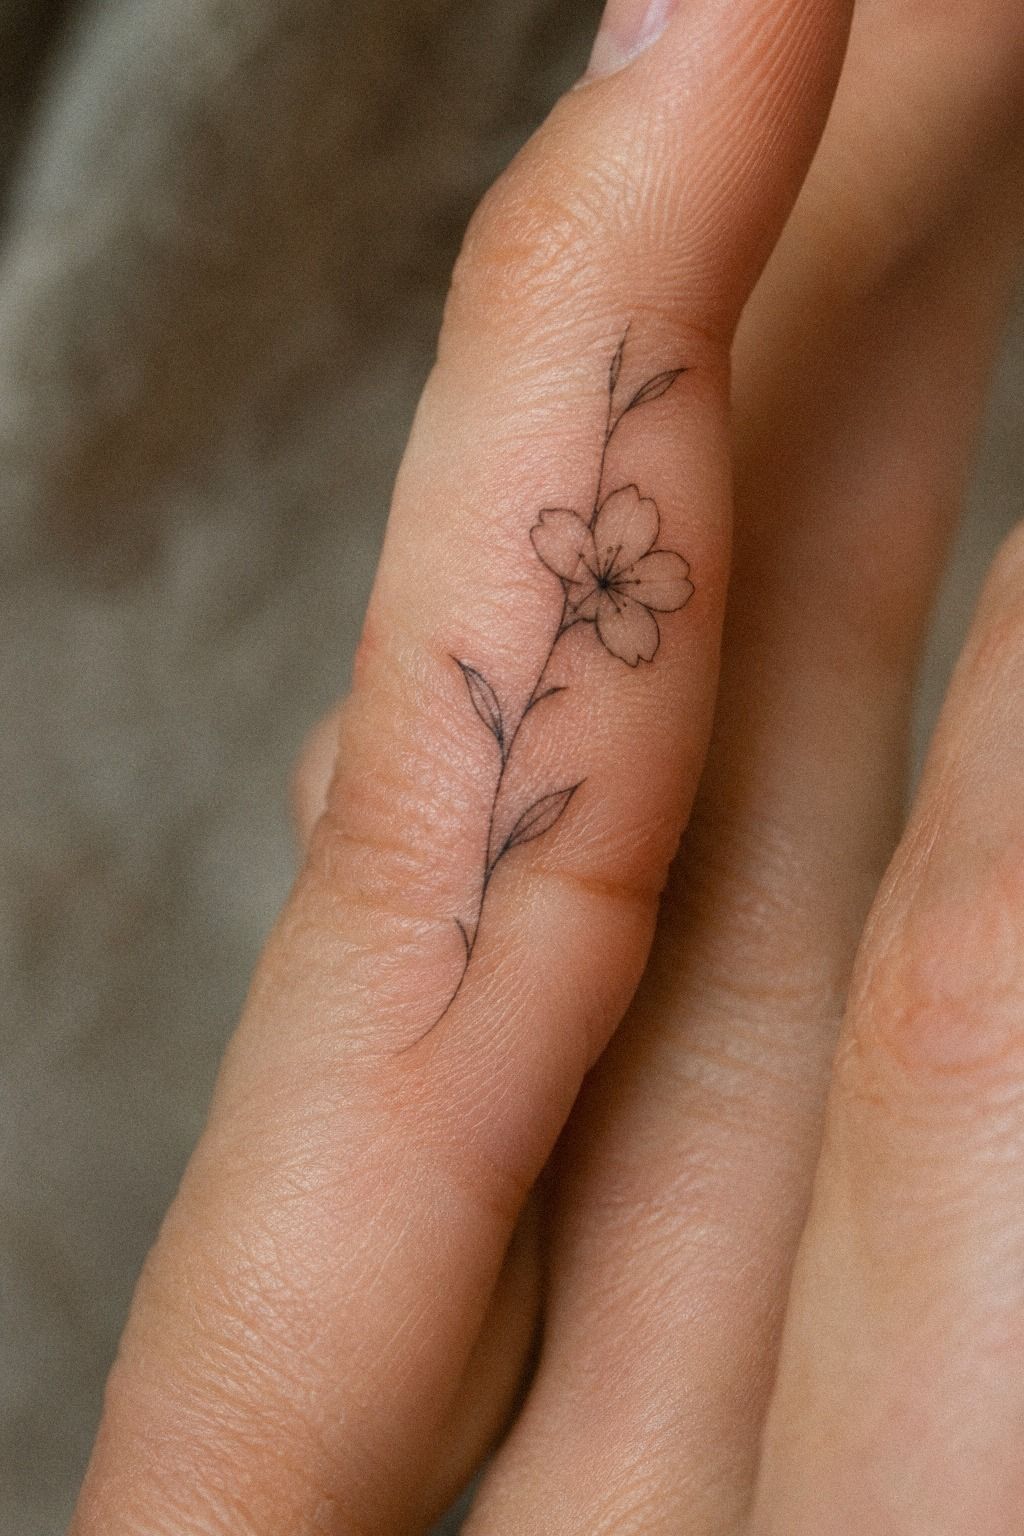
Choose a motif that respects your skin tone by using clear contrast, generous spacing, and a silhouette that doesn’t depend on pale shading. A small sun, geometric mark, or personal letter can feel expressive without becoming visually heavy.
The best minimal designs often have one dominant gesture. A curved line, a pointed leaf, or a tiny open circle gives the eye something to recognize. You’ll want the artist to explain where the darkest section will sit, because that area will guide the whole tattoo.
I’d avoid a design built from several faint gray details if your goal is longevity. Solid black accents can give a fine line tattoo structure, while open skin keeps it delicate. That balance feels polished, not severe, when the artist uses it with restraint.
Ask for healed examples on a range of skin tones. A portfolio should show how the artist approaches contrast, saturation, and placement without treating one skin tone as the default. You can also study these fine line simple hand tattoos for motifs that stay readable with limited detail.
And choose meaning that belongs to you, not an audience. A sacred initial, a family constellation, or a personal botanical reference can make a minimal mark feel powerful. The tattoo doesn’t need to tell the whole story to remain personal.
7Match Ink Scale To Finger Shape
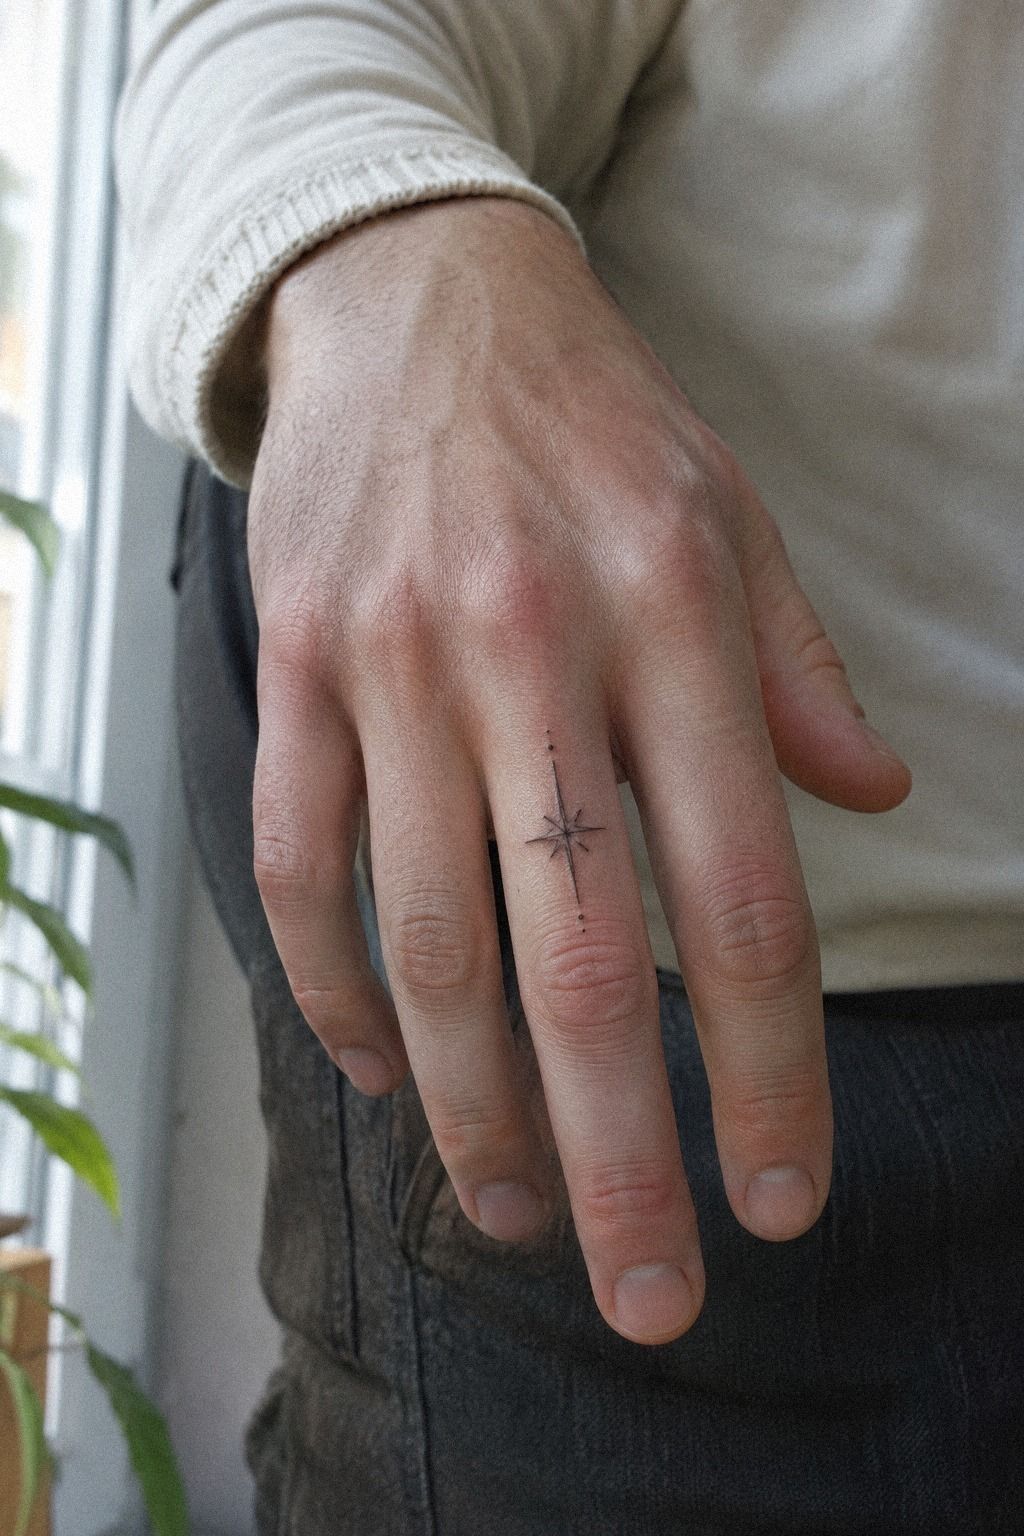
Match the tattoo’s width to the finger rather than choosing a size from a saved design. Your finger may be shorter, wider, or more tapered, so the artist should adapt the proportions instead of tracing a reference blindly.
Measure in inches or centimeters before you approve the stencil. A design that is roughly half an inch tall may read very differently from one closer to an inch, especially when it includes a circle or several intersections. You’ll want the smallest meaningful version, not the smallest possible version.
This is the Scale Ladder: sketch the motif at three sizes, then compare the smallest visible detail in each. Actual-size stencil film helps because phone screens enlarge everything. I’ve seen a delicate design look flawless on a screen and nearly vanish when printed to the finger.
Finger shape matters at every angle. A longer side plane can handle a graceful vertical mark, while a compact finger may need one central symbol with more open skin around it. If you’re weighing options, compare these fine line finger tattoo references before choosing.
But don’t chase maximum detail just because the placement has a little more space. A simple silhouette usually ages with more dignity than a miniature scene. Your tattoo should look intentional from across the room and interesting up close.
8Explore Unique Fine Line Side Finger Ideas
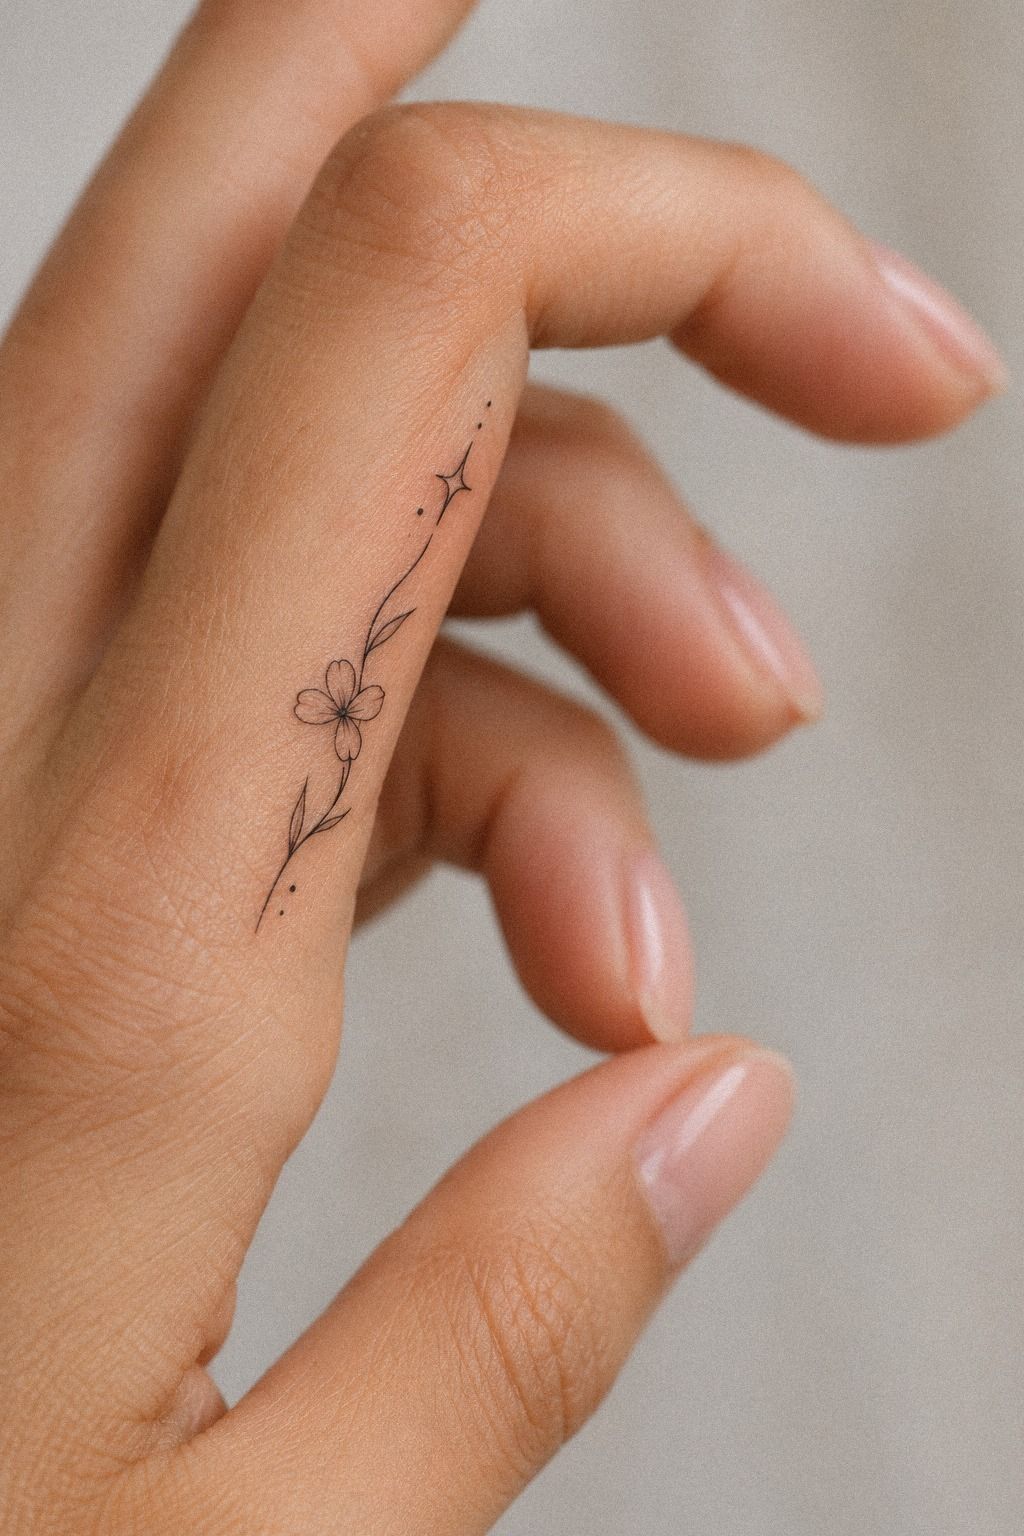
Explore references, but edit them for your own hand. Start with one visual direction, such as celestial, botanical, symbolic, or geometric, instead of mixing every idea you’ve saved.
Build a small reference page with three categories: line style, symbol, and placement. Include examples of black fine line work, but also note what you don’t want.
Maybe you like a romantic star shape but dislike dense shading. That distinction makes your consultation much more useful.
You’ll get better results when you bring the artist a clear mood and flexible artwork. A reference can show the feeling, while the artist redraws the image for your proportions. I’d never insist on copying a design that wasn’t built for your finger.
Look for artists who can show healed tattoos in a consistent way. Fresh skin can make every line look sharper and more vibrant than it will later. These delicate fine line tattoo ideas are useful for comparing how minimal marks can still feel romantic, edgy, or symbolic.
And leave room for the artist’s judgment. You’re hiring a practitioner because placement and line behavior matter. A graceful edit may remove one detail, shift the angle, or widen a gap, and that can make the final tattoo feel more iconic.
9Consider Pain Before Side Finger Tattooing
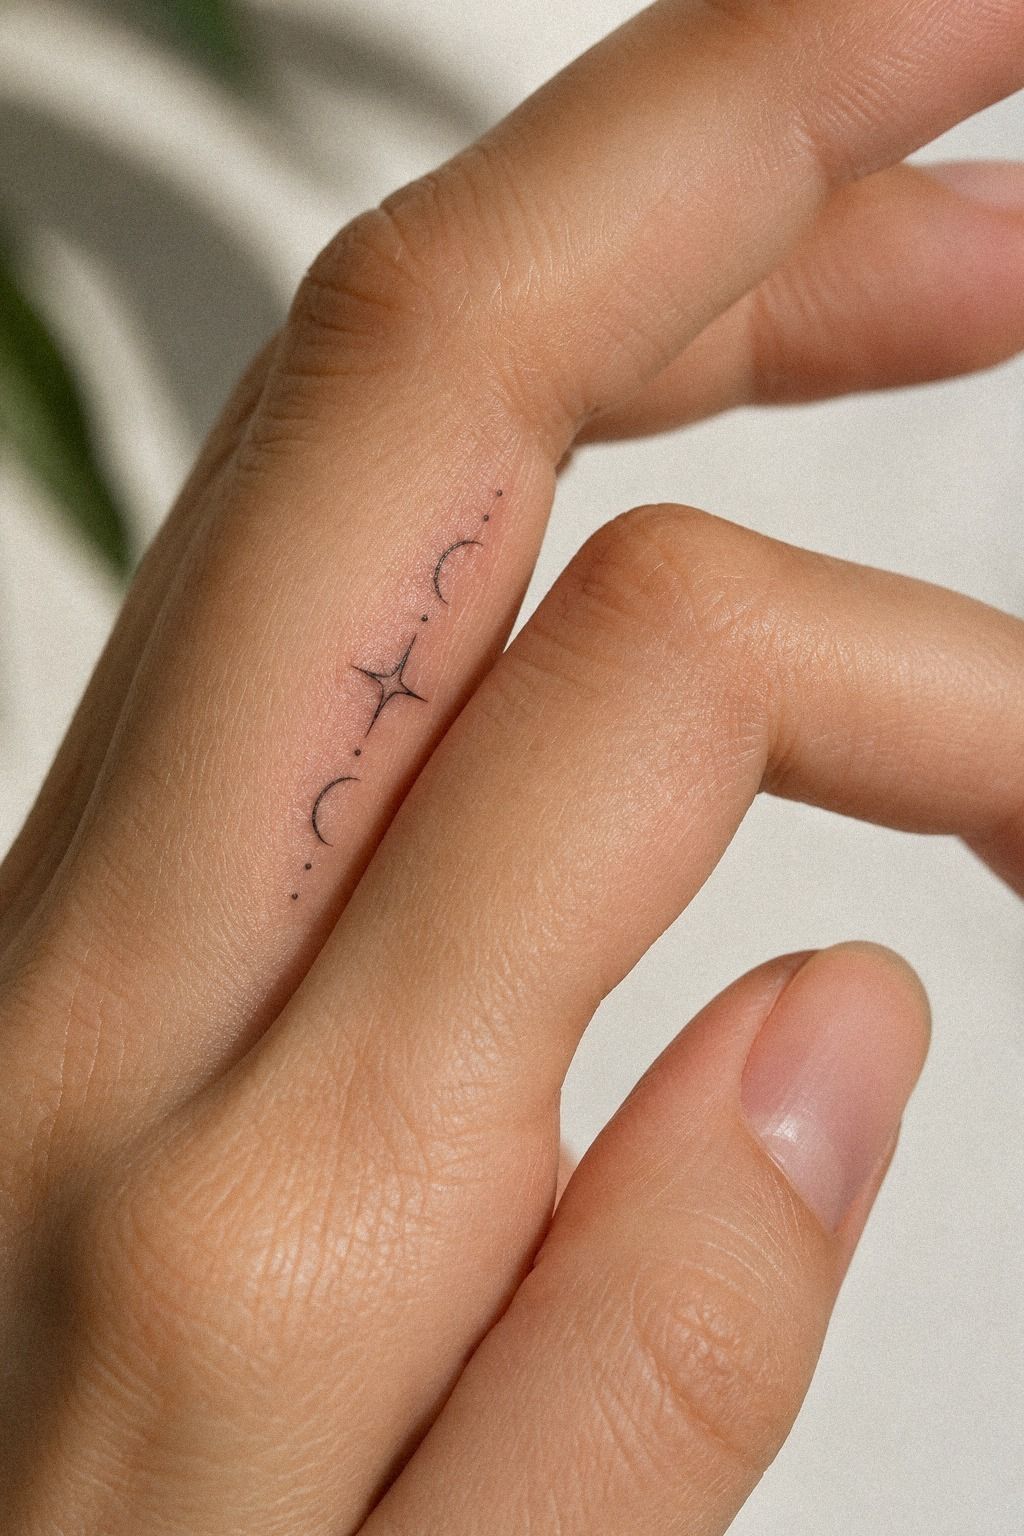
Consider pain honestly before you book, especially if this is your first tattoo. Pain expectations can help you plan breaks and communicate clearly.
10Protect Fresh Finger Linework During Healing
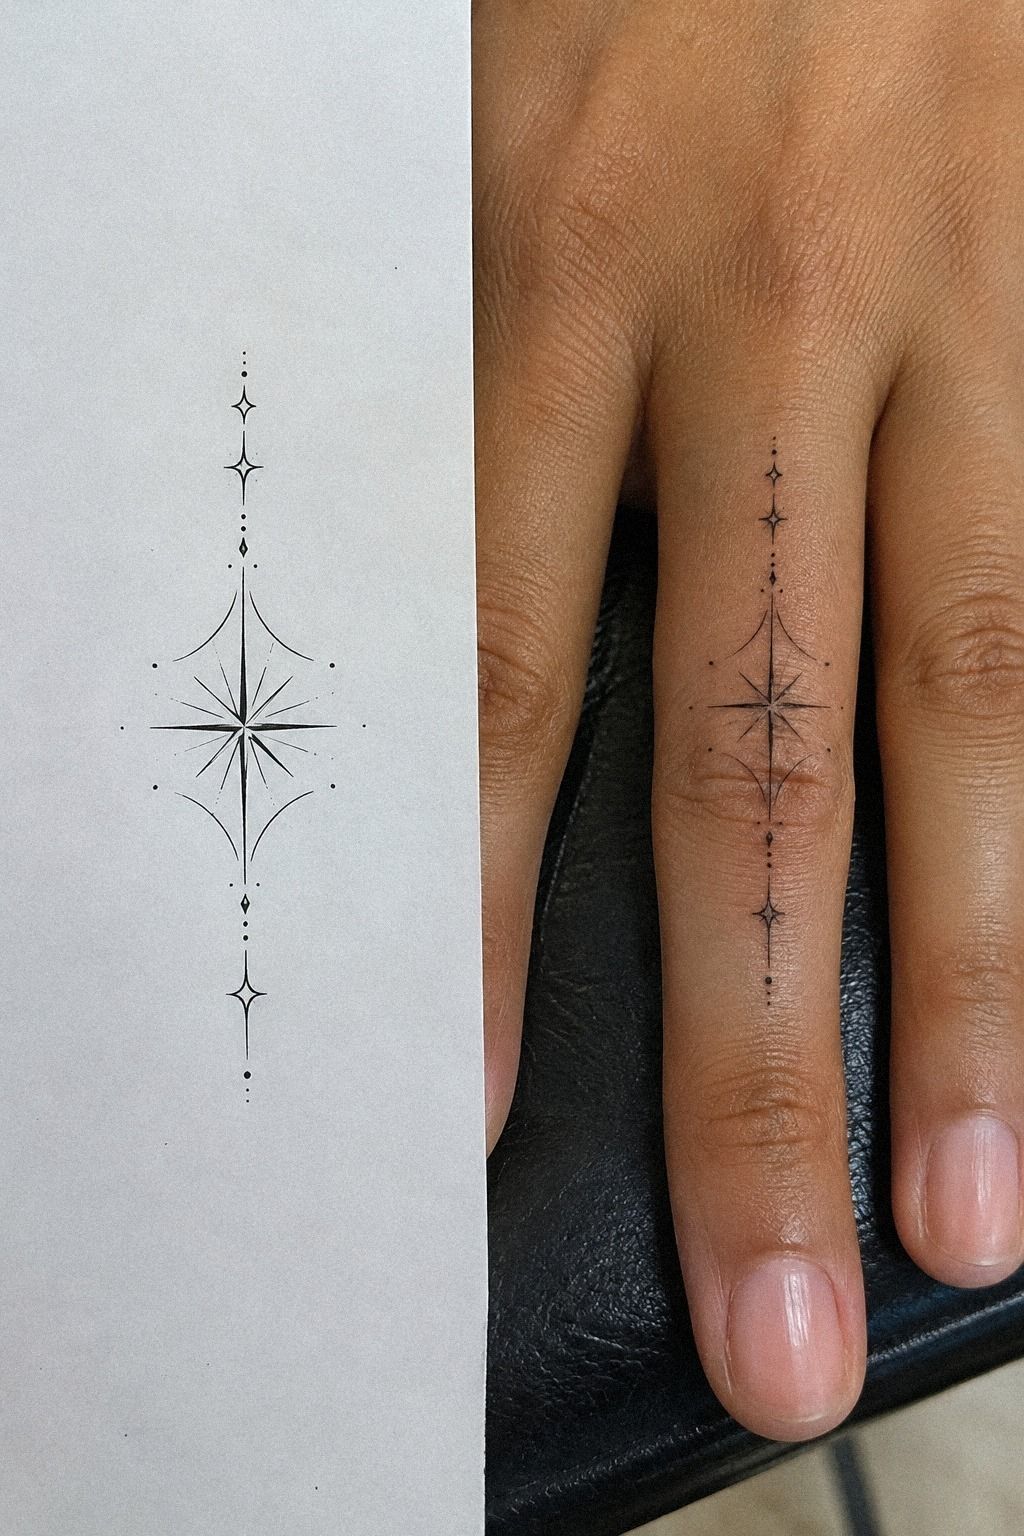
Follow the artist’s aftercare instructions as soon as the bandage comes off. Your goal is to protect the real tattoo while the surface settles.
Wash gently with lukewarm water and a mild, fragrance-free cleanser. Pat with a clean towel instead of rubbing. Fragrance-free cleanser is a simple choice because it avoids adding unnecessary irritation while the area feels tender.
Keep the tattoo lightly moisturized, but don’t smother it under a thick layer. You’ll need to avoid soaking the finger in pools, hot tubs, or baths during the early healing period. Sun exposure can also affect fine line work, so cover it once the skin has closed and your artist says sunscreen is appropriate.
Surface healing commonly takes around 2 to 3 weeks, while complete settling can take about 2 to 3 months. That timeline isn’t a reason to panic when the tattoo looks dull or flaky. Your skin is changing, and the final appearance takes patience.
And don’t pick at peeling skin. I once watched a beautifully delicate line become irritated because the wearer kept checking it every hour. Let the area heal quietly, and you’ll give the tattoo a much better chance to stay sharp.
11Refresh Faded Side Finger Ink Carefully
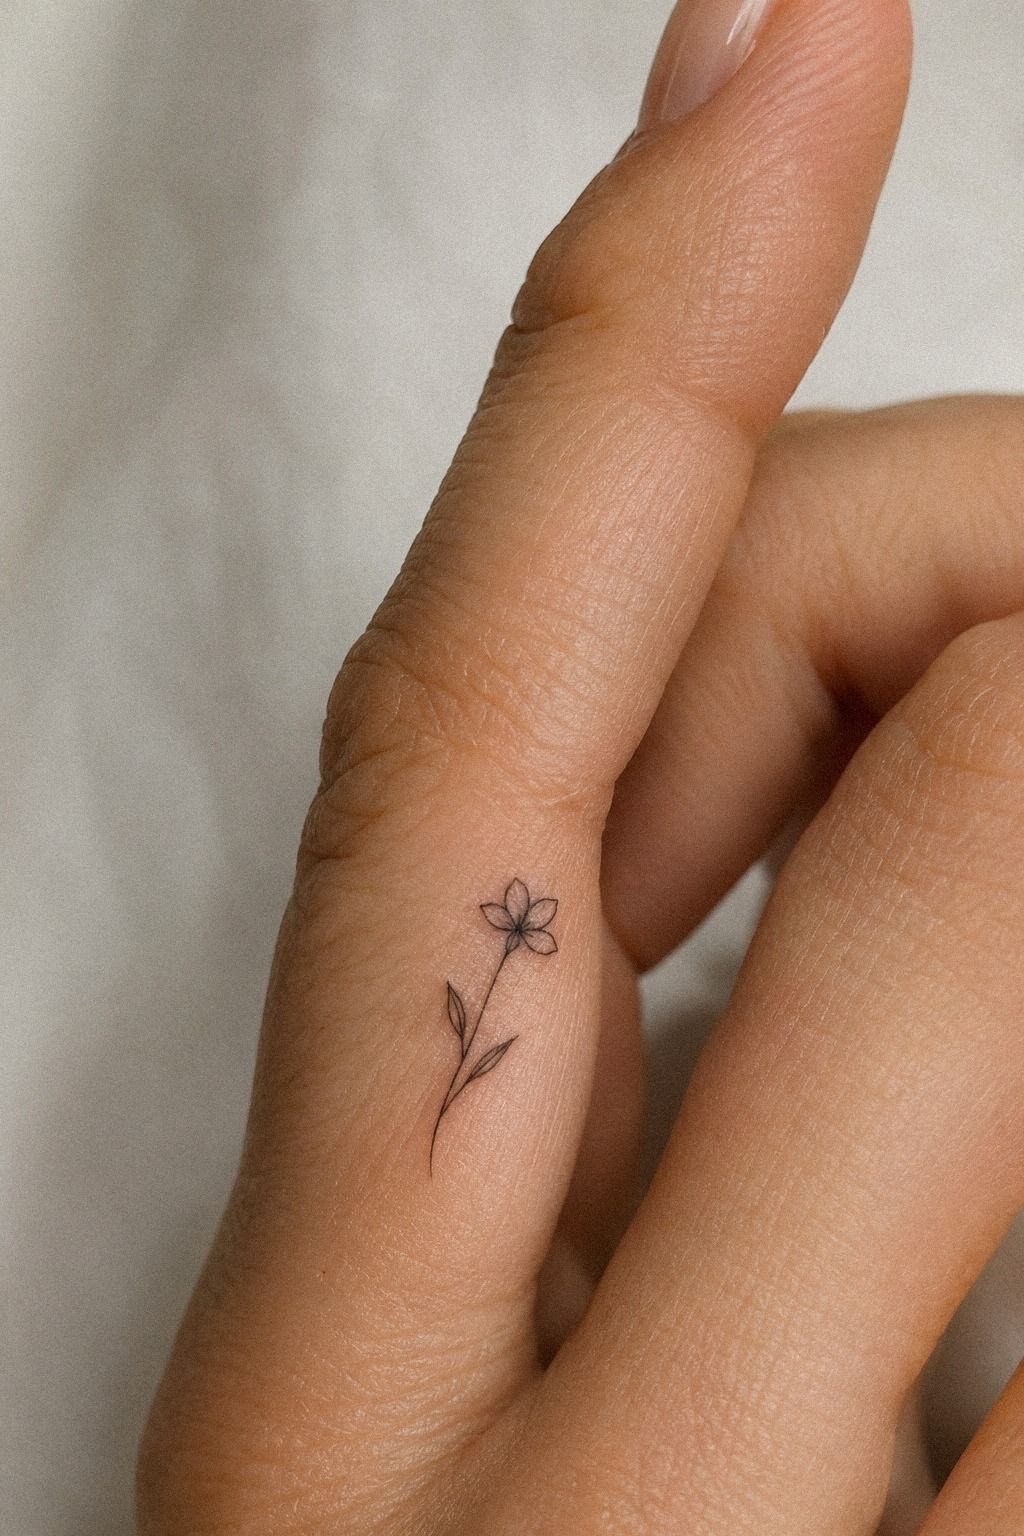
Expect a finger tattoo to need a thoughtful review over time. Ask the artist to assess healed contrast rather than automatically redraw every line.
Wait until the tattoo has fully settled, then show it to the original artist if possible. You’ll want to know whether the lines truly faded, softened naturally, or were affected by friction and sun. Healed black ink can look different from fresh work, and a rushed touch-up may add unnecessary weight.
A refresh should solve a specific problem. One small gap may need reinforcement, while a crowded section may need to remain untouched. I’d skip a full darkening if the symbol is still legible because heavier ink can remove the refined quality you liked at the start.
Protect the result with sun awareness and sensible jewelry choices. Once the skin is fully healed, broad-spectrum sunscreen can help limit UV exposure, while removing a tight ring during activities can reduce rubbing. For comparison, these small single line tattoos show how much visual strength a simple mark can retain.
But remember that fading isn’t always failure. Finger skin works hard, and some softening is part of this placement. An understated tattoo with a planned refresh can remain personal and crisp without looking overworked.
The Finger Tattoo Rule I’d Keep
I’ve changed my mind about what makes a finger tattoo successful. I used to think the most impressive design was the one with the finest detail, the smallest gaps, and the most intricate little symbols.
After watching those details soften on active hands, I now value restraint far more. A tattoo should survive ordinary life, not only the appointment result.
The strongest approach is a decision chain. First, choose a meaningful symbol.
Next, match its scale to your finger. Then, move it away from the deepest crease, protect the fresh work, and accept that a future refresh may be part of the plan.
That sounds simple, but each step protects the next one.
I’d choose a bold silhouette with delicate accents over a fragile design made entirely of faint gray marks. I’d also choose an artist with healed examples over someone whose page is filled only with fresh work. Fresh ink can be gorgeous, but healed work tells you how the artist thinks about time.
What matters more, an impressive stencil or a readable tattoo after years of hand washing and sunlight? For me, the answer is clear. The best fine line side finger tattoo is expressive enough to feel like yours, but disciplined enough to leave the skin visible around it.
That balance can look elegant, edgy, or quietly empowering depending on the symbol. It doesn’t need a dramatic explanation. It needs enough space, a capable artist, and care you’ll actually follow.
That’s the part that keeps a minimal mark feeling personal instead of accidental.
What People Always Want to Know
How much does a fine line side finger tattoo usually cost?
A fine line side finger tattoo typically costs about $100 to $300 in the US, though a studio minimum may be around $50 to $100 and hourly rates may run about $100 to $250. Clear pricing depends on the artist, region, design size, and consultation.
Are fine line side finger tattoos a good idea for a first tattoo?
Yes, they can be a good first tattoo when you choose a small, meaningful design and understand that fingers may fade faster. A short session and clear placement can feel manageable, but you’ll still need realistic aftercare expectations.
– Small symbolic motif – Visible placement – Healed portfolio review
How do I choose a tattoo artist for fine line side finger tattoos?
Choose an artist with healed fine line work, clean studio practices, and consistent spacing in small designs. A healed portfolio matters more than enlarged fresh work, so ask how the artist handles finger placement, fading, and possible refresh work.
– Healed linework examples – Fine line specialization – Clean studio standards
How much do fine line side finger tattoos hurt?
Side finger tattoos can feel sharper than tattoos on the forearm, thigh, or shoulder because hands have less cushioning and sit close to bone. Pain varies by person, but the session is usually short, and your artist can explain the sensation before starting.
– Hand and finger sensitivity – Short appointment length – Calm breathing and breaks
How long does a fine line side finger tattoo take to heal?
The surface usually heals in about 2 to 3 weeks, while complete settling can take about 2 to 3 months. Gentle aftercare includes washing softly, moisturizing lightly, avoiding pools, and limiting sun exposure while the skin recovers.
What’s the best placement for fine line side finger tattoos?
The best placement is usually a side plane that avoids the deepest natural crease and leaves enough open skin around the design. A slightly offset position may age better than a perfectly centered mark that folds directly across the joint.
Where I’d Start First
If I had to pick one step, I’d start with the actual-size stencil. You can fix a crowded design before ink touches skin, but you can’t create breathing room after every tiny detail has been packed into a crease. Pin these ideas for later, then bring your favorite symbol to a healed-work specialist!